There's never been a better time to lean into the joy of music and learn to play the ukulele. With Córdoba's Live. Play. Learn. Series, you're one step closer to playing all your favorite songs. Córdoba, alongside Katie DeNure and Evan Taucher, brings you an all-encompassing, family-friendly approach to learning guitar and ukulele.
With her infectiously joyous personality, multiple teaching certifications, and over a decade of teaching experience, Katie DeNure offers a family-friendly approach to learning ukulele
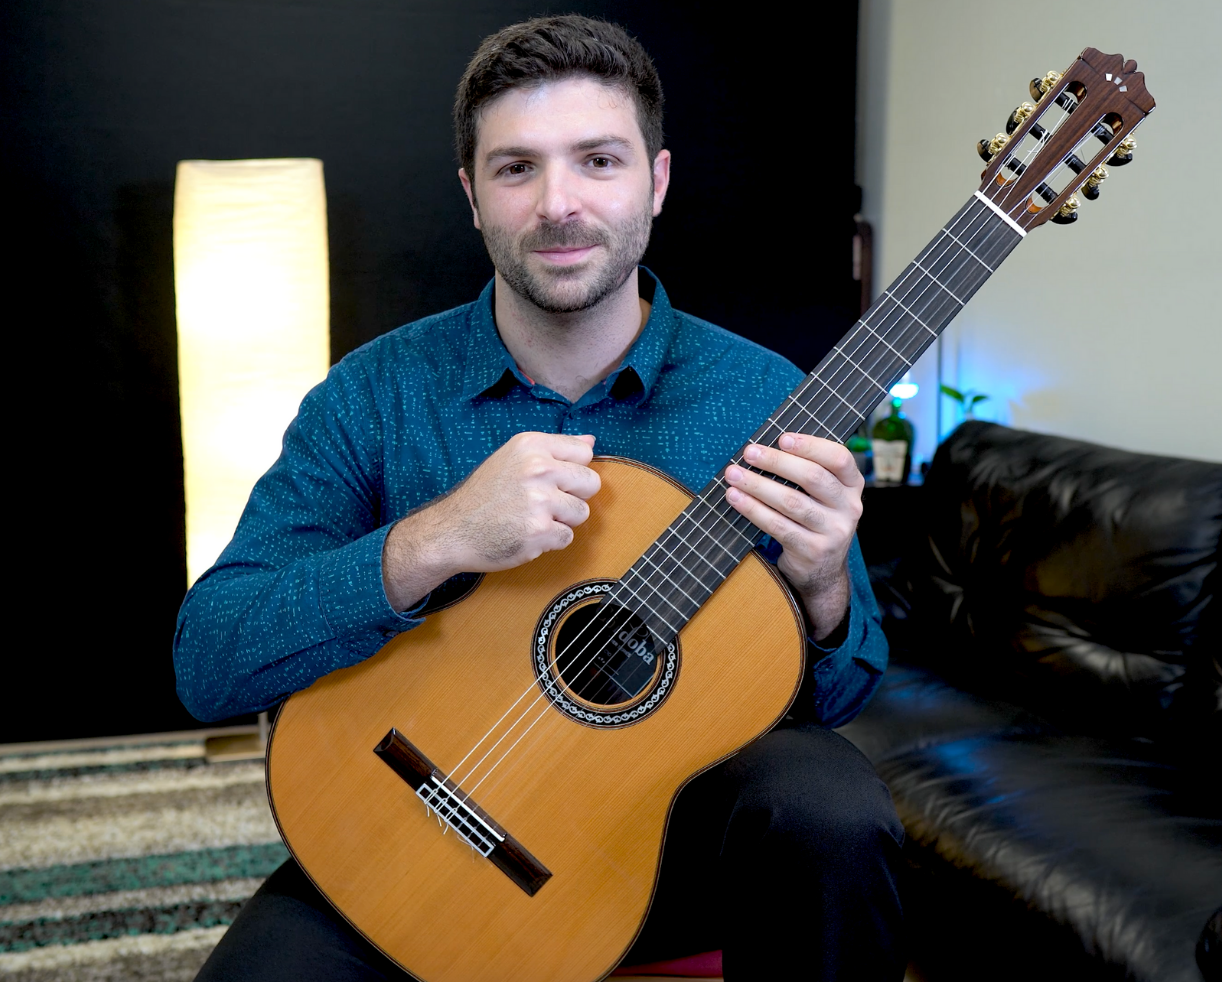
Equipped with a passion for the guitar, multiple degrees in music, and an award-winning approach to music instruction, Evan Taucher, offers a methodical and systematic approach to the art of the nylon string guitar.