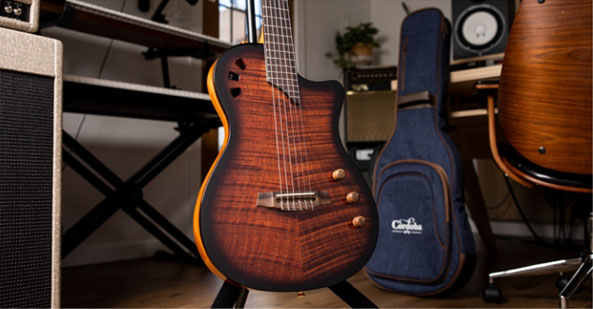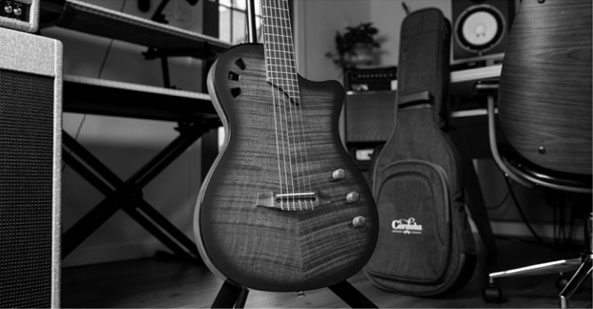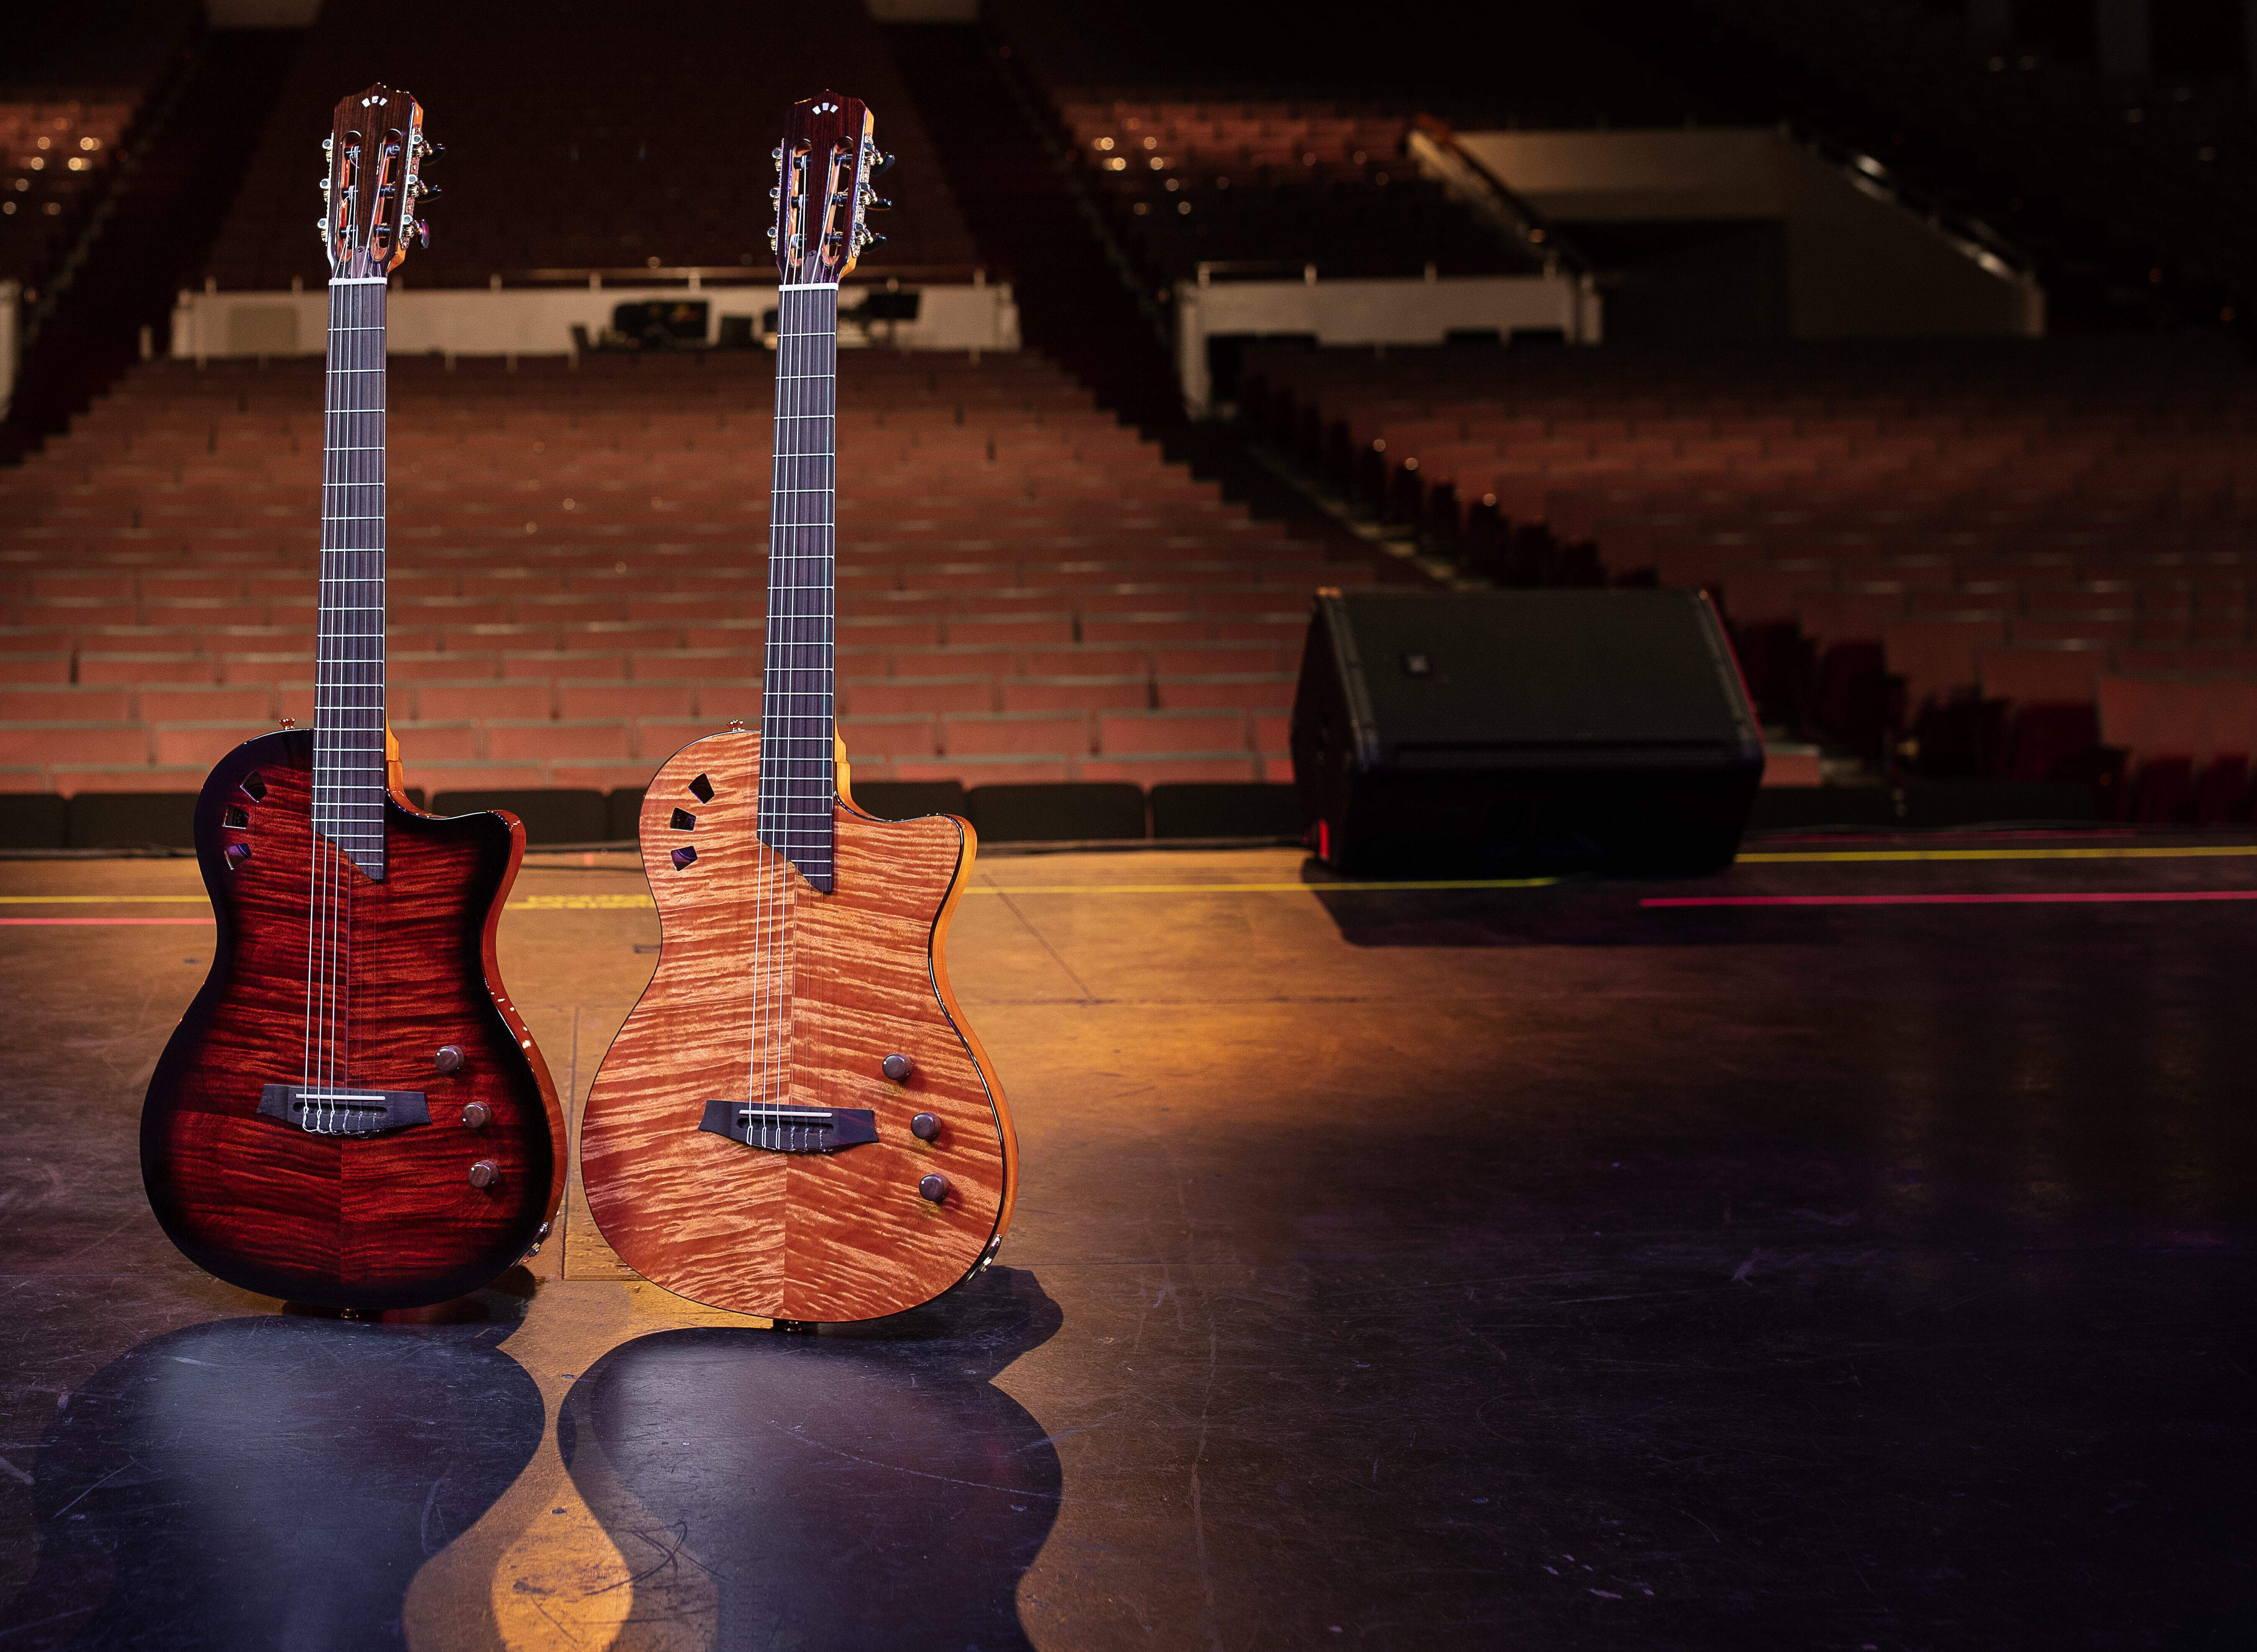
Córdoba Guitars is proud to introduce its first nylon string electric guitar and recent winner of Best in Show during the 2022 NAMM Show, the Córdoba Stage. This ultimate nylon string guitar is for playing on stage and addresses feedback issues while also producing Córdoba’s authentic acoustic nylon-string tone. Available in Edge Burst, Natural Amber, Traditional CD, and Black Burst.
Córdoba Guitars
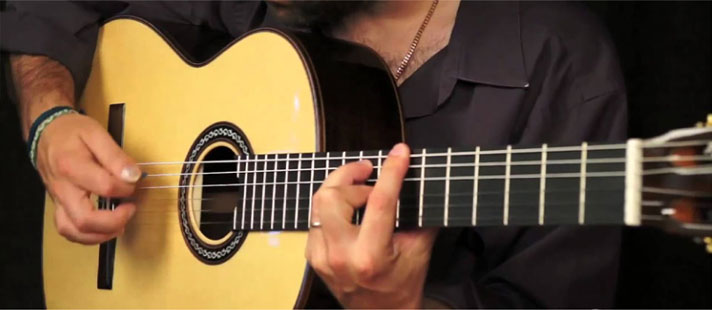
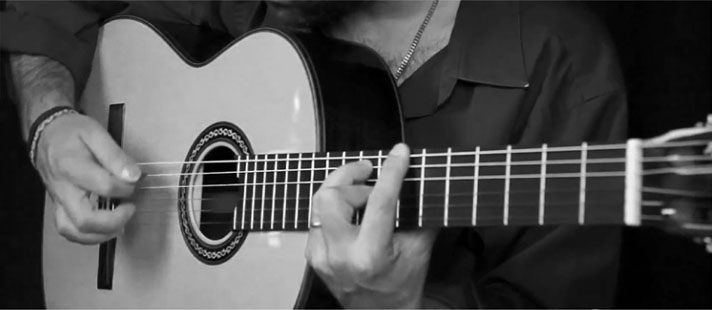
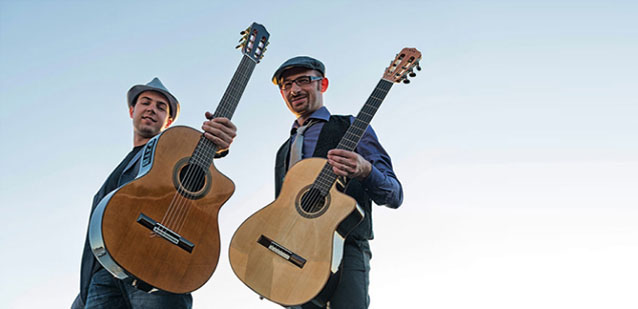
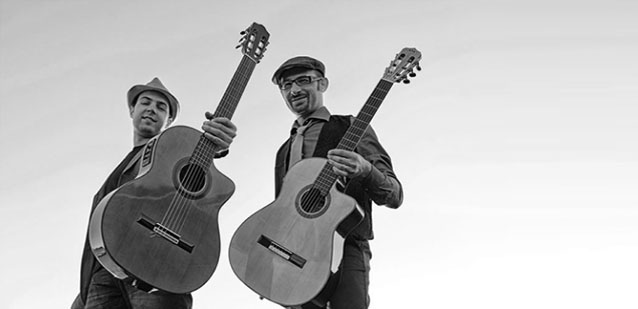
Córdoba seeks to guide the evolution of the nylon string guitar, blending traditional craftsmanship of the early master luthiers with modern developments. Every Córdoba is lightweight, responsive, and a direct descendant of the Spanish tradition.